Customize Gmail looks and feel
|
|
|
You can view all magazines online at
MSDN Magazine: Find Issues By Year
Also you can download them(.chm files) at
MSDN Magazine HTML Help Files
Thanks to Qiweiye (MSDN blog)

Now that the Windows 7 Beta has been out for a while, I’d like to highlight how folks can try out Windows Touch, Windows 7’s new multi-touch capabilities.In order to take advantage of it, you are going to need a PC that supports multiple touch points. Today – there are a few PCs on the market to choose from: To enable multi-touch capabilities on these PCs running the Windows 7 Beta you will need to make sure you have the latest multi-touch beta drivers. The driver allows the digitizer screen to support multiple touch points. Remember these are beta drivers, they still need to pass through our rigorous Windows Logo process before they are final, we can’t guarantee that all pre-Windows 7 PCs will have logoed drivers.
Putting the Windows 7 installation on a USB thumb drive has a few advantages—a small USB key is much more convenient for carrying around than a DVD, the OS will actually install much faster, and you can use a USB key to install Windows 7 on systems that do not have a DVD drive, such as a netbook. In fact, you can even install Windows 7 on netbooks that have fairly modest hardware. Dennis Chung, an IT Pro Evangelist at Microsoft recently posted a video demonstrating how easy it is to prepare your thumb drive and use it to install Windows 7. Here’s a quick look at the process:
One can login simultaneously to more than one account. Unlike yahoo multiple login no need of registry editing here.
Follow these simple steps.........
* Create a shortcut of your Google talk.
* Right click the shortcut ----> choose Properties.
* In the "Target" you will find this "C:\Program Files\Google\Google Talk\googletalk.exe"
* Now at the end of target add this "/nomutex" without the quotes. It should be like this "C:\Program Files\Google\Google Talk\googletalk.exe" /nomutex There is a space after googletalk.exe"
Thats it .Click OK and you can open more than one Google talk.
You also can set up filters to forward messages that meet specific criteria. You can create 20 filters that forward to other addresses. You can maximize your filtered forwarding by combining filters that send to the same address.
For Yahoo Users:--
we have not a very good news.You have 2 spend almoist 20 $ that is 1000 INR approx to get this service enabled.Here is what Yahoo says:-
Email forwarding sends your email to another address that you provide. Instead of your mail going into your Yahoo! Inbox, it's forwarded to the other account's inbox so you can check it there. While forwarding is "on," you won't get any mail in your Yahoo! account.
With Mail Plus, you can:
1. Right click on Windows 7 Taskbar, and point to Toolbars context menu item, and then select New Toolbar.
2. Just copy and paste this code in the address bar
%SystemDrive%\Users\%username%\AppData\Roaming\Microsoft\Internet Explorer\
3. Locate and highlight the Quick Launch folder, and then click on Select Folder button.
A Quick Launch Toolbar will be added to Windows Taskbar close to notification area. Unlock the Taskbar (right click on Taskbar and uncheck Lock the taskbar) to move the Quick Launch Toolbar.
Suppose you want to move the quick launch button to the left of the taskbar.
1. Unpin all application programs from the Superbar by right click on each and every icons, then select Unpin this program from taskbar.
2. Move the both borders of Quick Launch Toolbar to the furthest left, and then re-pin. And you are done.
[Optionally, as you know, you can right click on empty space inside Quick Launch Toolbar area, and unselect Show Title to remove the Quick Launch wording, or uncheck Show Text to remove the label next to the shortcuts and icons in Quick Launch bar]
Its very simple.
19. Alt + Up = Go up one level
20. Alt + Left/ Right = Back/ Forward
 One of the most troublesome issues of troubleshooting is to find out exactly how it happened and for what. Obviously, some processes are non-recoverable. For them you can not repeat the process and risk another hardware just because a troubleshooter wasn't able to understand where did it err. So what do you do depict the error ditto to original. Here is a wonderful tool for Windows 7. A feature new to Windows 7, called Problem Steps Recorder looks to be the missing tool for documenting where it all goes wrong.
The tool is just an advanced version of the screen capture software but with other in- depth functionalities. Think of it as an automated Print Screen plus a little monkey in the background documenting all the mouse clicks, key strokes and gathers some technical reading material, who then ties up everything in a neat box and saves the results. The neat little box you get is a zipped MHTML report page which can be sent off directly to the help desk.
Try it. Prevention is always better than cure. But when its about Windows, you know that cure is the only way to go. So let's strengthen it.
Here is a short informative movie about preventing hacking and protecting your computer from Sunrise, a broadband provider from Switzerland.
It talks about firewalls, IP address blocking, spamming, trojans etc. in a easy to understand format.
It can be a refreshing reminder for experienced and a good starting point for new users.
In Windows 7 beta version, there is a send feedback button on the right side of the title bar on each and every window opened on desktop. Well there are two reasons for which one can feel bothered.
1. There are so many times you can accidentally click on that button and then every damn internet options will try and start themselves as if you have done a terrible mistake.
2. Even if you try and send feedback, believe me nothing will happen unless your issue is the commonest one
So why don't we get rid of that service which either annoys or remains inactive when needed?
Here is how to hack it
The first big patch for Windows 7 is out. Those who are using The Windows 7 Beta version, must be aware of the expiration date of 1st July. Here is this patch which not only will get rid of that 6 months of expiration warning to give you a better and unlimited use of Windows 7, but also will help you to disable send feedback button and also watermark from Windows 7 desktop! Isn't it wow.
Follow the same order and you will get all problems sorted out within seconds. Rock your Windows 7.

Remember:
[P.S. -> We do not take any responsibility or credit to offer you this service. This is purely for experimental basis]
Intel will give its first public look at an 8-core Xeon processor in less than two weeks at the International Solid-State Circuits Conference, the show's schedule (PDF) reveals.
Windows Internet Explorer 8 Release Candidate 1 for Windows XP
Windows Internet Explorer 8 Release Candidate 1 for Windows Vista and Windows Server 2008.
Windows Internet Explorer 8 Release Candidate 1 for Windows Server 2003 SP2
Update for Internet Explorer 8 Compatibility View List for Windows Vista (KB961813)
Headers and Libraries for Windows Internet Explorer 8 Release Candidate 1
Windows Internet Explorer 8 RC1 Technology Overview for Developers
Windows Internet Explorer 8 RC1 Technology Overview for Enterprise and IT Pros
Windows Internet Explorer 8 RC1 FAQ for Business
If you have Windows 7 Beta installed with UAC disabled you might run into problems while trying to load gadgets onto your desktop.You can enable the UAC in order to use Sidebar.But if you don't wanna turn on that nagging UAC and still love those tiny useful gadgets you can bring them aboard by following these steps:
* Click on Start button, type regedit in the search box and hit enter.
* In regedit, go to :
HKEY_LOCAL_MACHINE\SOFTWARE\Microsoft\Windows\Curr entVersion\Sidebar\Settings
* In the right pane,right-click and select DWORD Value from the New menu.
* Rename the DWORD Value to AllowElevatedProcess. Double-click on it and type 1 in the Value data field.
* Close Registry Editor and try to load the gadgets.They should work.
Thanks Chris for finding the registry
The global moderator at Help My Operating System has just posted testing results, after reviewing Antivirus software. In his review he noted PASSED or FAILED in the results next to several Antivirus products that were tested. The results are here![]()
![]()
![]()

![]()
![]()
![]()
Ultimate Windows Tweaker v1.1 Beta is available for download. Its just to address any possible pending x64 issues, but its more stable than its earlier version (v1.0b). Its final v1.1 may out soon within a week. It has been developed by one of our friendRamesh Kumar who is also a Microsoft MVP.This app has been highly appreciated all over the tech-globe.
Now the coolest things is that 5 FREE ESET Security Suite 6-Months licenses are being offered for first 5 valid bugs by WinVistaClub. So give this opportunity to yourself and get FREE ESET Security Suite 6-months license. :) |
1.USB Beverage Cooler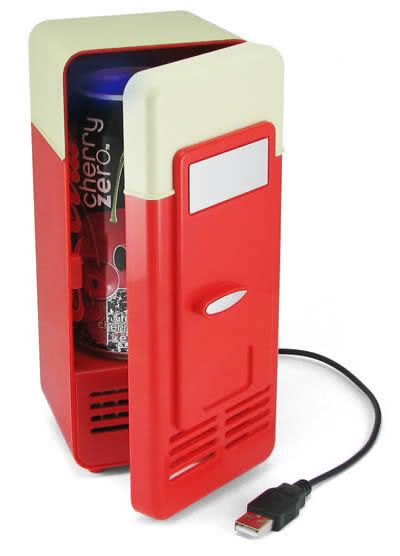
2.USB Missile Launcher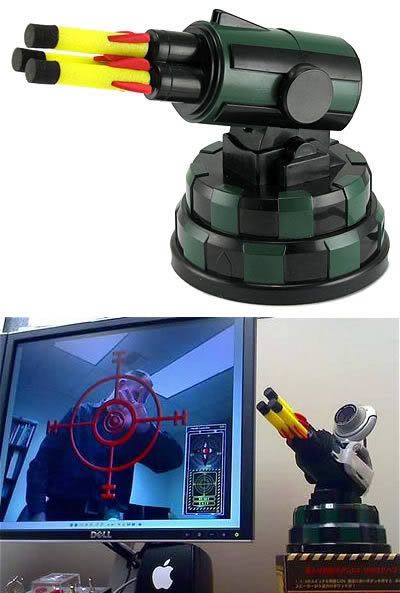
3.USB Pole Dancer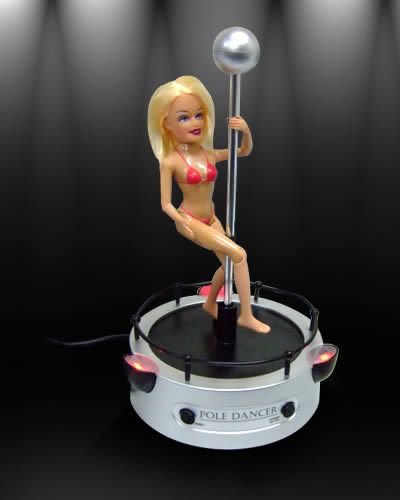
4.USB Desk Vacuum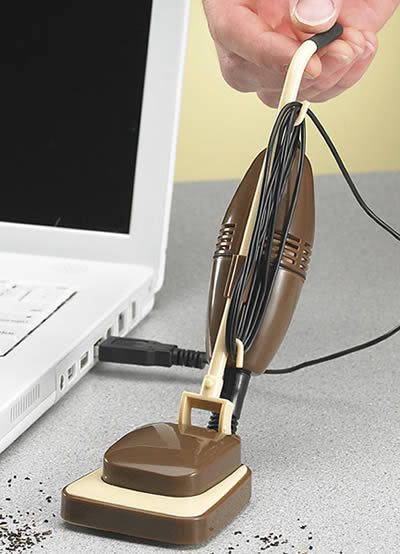
5.USB Microscope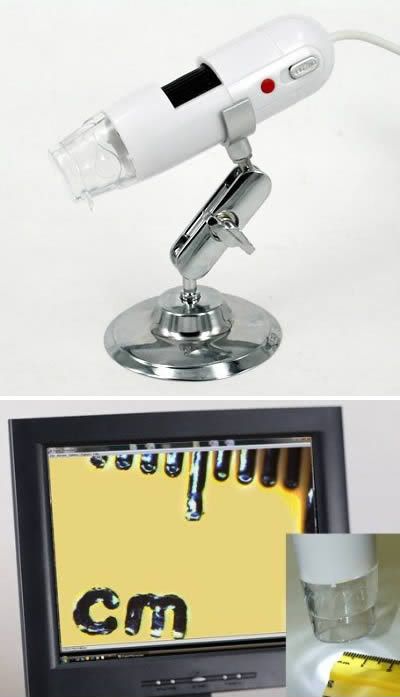
6.USB Airplane Fan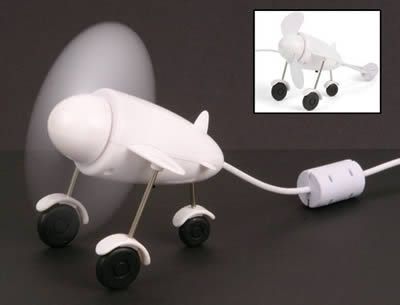
7.Star Wars Lightsaber USB Lamp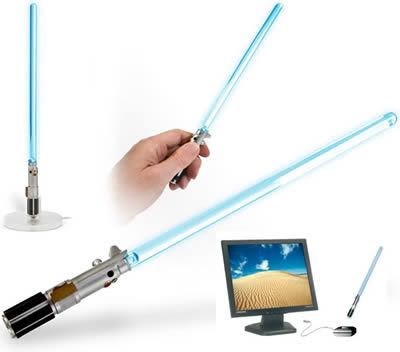
8.USB Plasma Ball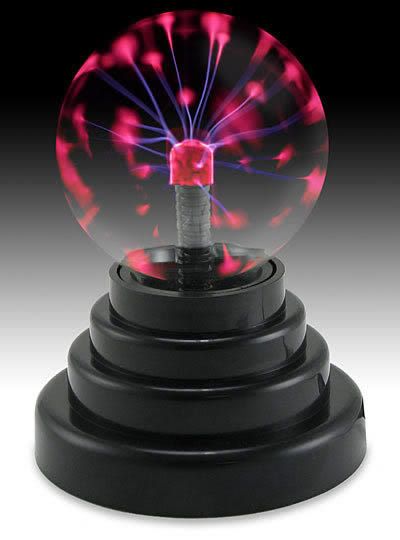
9.Darth Vader USB 4-port Hub
10.USB Portable Chess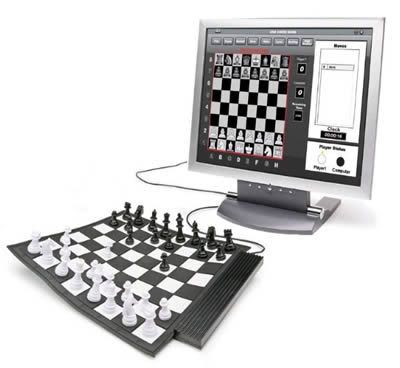
The Vitrue 100 help bring credibility and clarity to this emerging space. The Vitrue 100 helps define who is winning, who could be doing better and provides the industry with overall trends.
The Vitrue 100 is the result of Vitrue’s daily analysis of over 2,000 popular brands.
Each day, Vitrue analyzes the online conversations on a variety of social networking,blogging, microblogging, photo and video sharing sites.
![]()
Jimmy Wales, co-founder of Wikia and Wikipedia, has launched a new Q&A site, named Wikianswers.
WikiAnswers is a wiki website that is run as an online question and answer (Q&A) community that aims to offer answers to popular questions. Replies to questions are contributed by a registered community that collaborates to add, edit and improve answers, with the goal of creating one Q&A database for all to use. Previously known as FAQ Farm it was acquired by Answers Corporation in November 2006 and became the user-generated content (UGC) component of Answers.com. WikiAnswers is based on a customized version of MediaWiki called "Wiki FAQs"
Members of WikiAnswers add questions to topics (within categories) and may also answer questions. These are known as 'contributions'. People who provide more accurate answers and better questions are eligible for "trust points" from the other users of WikiAnswers. However, assessment of accuracy is by the community, rather than specific experts, or Supervisors. Attaining certain numbers of contributions or trust points earns recognition "awards" in the form of personal-page emblems (e.g. 5000 contributions is a Silver Level display emblem).
The Supervisors, who are volunteers, are assigned either to specific topics or to the site as a whole. They work to insure that questions are assigned to the correct topics, to improve grammar and spelling on questions and answers, and to reduce spam, nonsense, and vandalism.
WikiAnswers is an ad-supported website. It's accuracy and authoritativeness varies greatly but has been generally assessed to be somewhere between Wikipedia and Yahoo Answers
TechARP has published the updated release schedule.
According to TechARP, the final RC build is now expected to happen on Feb 16th and the final release is expected to happen around April or May.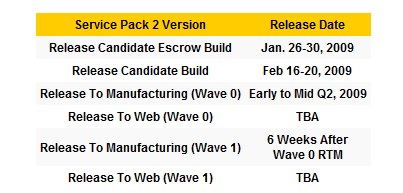
Windows Vista SP2 RC- build released to testers
 Ars Technica that Microsoft has sent out the RC-Escrow build of SP2 for Windows Vista and Windows Server 2008 to testers. An email has been sent to SP2 testers regarding this release. The RC-Escrow build is available for download from this Thursday as a standalone installer or via Windows Update or as a slipstreamed download. Microsoft claims that the service pack includes 656 individual hotfixes.
The Escrow Build is a build where development halts and developers & beta testers start testing the product for any show-stopper bugs. Microsoft has emphasized this to testers to concentrate only on the regressions and confirmation of fixes when asking for feedback which includes the RC Escrow install survey.
Public beta of SP2 was released in dec 2008 and Vista SP2 RC Escrow Build was rumored to be released in February and the final release was expected to happen in May or June.
According to TechARP, the final RC build is now expected to happen on Feb 16th and the final release is expected to happen around April or May.


Nearly a year to the day after we heard that WiFi trials were beginning on some of the San Francisco Bay Area Rapid Transit trains, WiFi Rail has announced a deal that'll last a score and provide high-speed WiFi "throughout the BART transit system and on all BART commuter trains." Reportedly, the network has successfully been tested to handle loads and provide speeds in excess of 15Mbps on trains moving 81 miles-per-hour. As it stands, four downtown San Francisco stations and some segments of the tunnels are already fully functional, but it'll take until the end of 2010 before the entire network is complete. There's no mention of what the price table will end up looking like, though we are told that subscriptions will be available by day, month or year. Now, if only this would filter out to every other mass transit entity in America, we'd be just jolly.


Copyright © 2009-2010 CyberDimensions | Theme Designed by TheBuckmaker | Re-Designed by: Vasu Jain | Home Page Image : Microsoft Windows 7 . | Theme Distributed by Mumbai Mania


